
How to dry your own outdoor food
Have you also grown tired of expensive bags of freeze-dried food, where every meal tastes the same? Drying your own outdoor food is easier than you think! Laponia Adventures shares the best tips for enhancing the culinary experience on your hike or ski tour.
Advantages
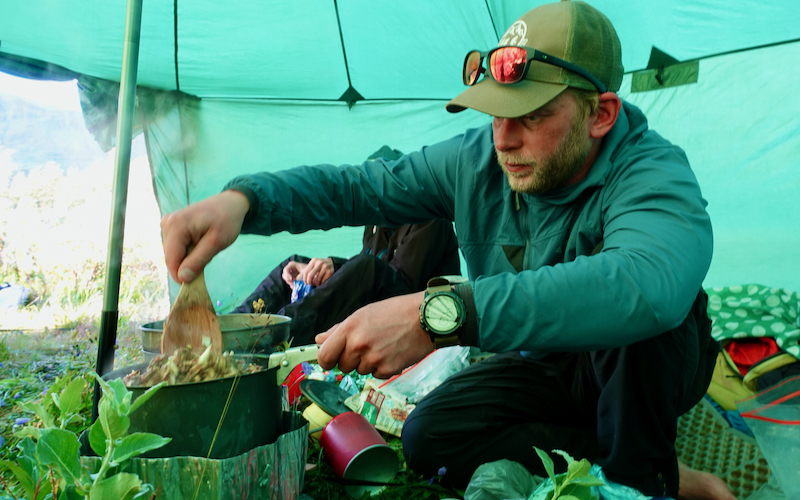
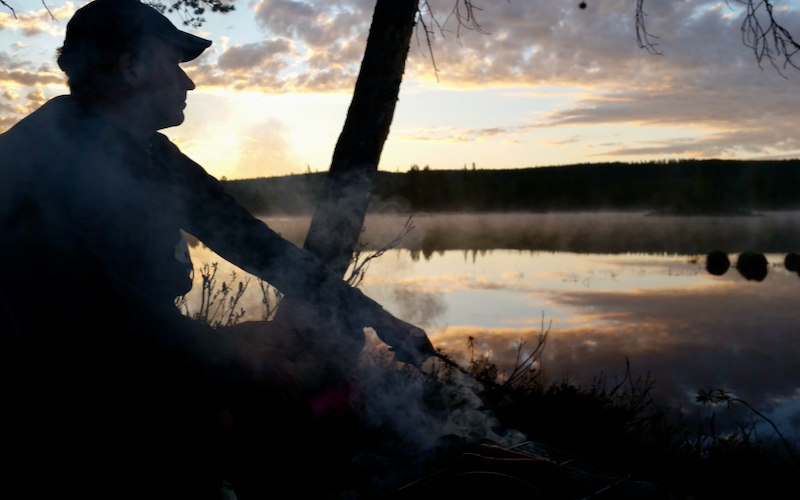
There are few things better than tasting sweet peppers, crispy cabbage, or sweet apples after several days out on a tour without fresh food. The principle is simple. It’s about reducing the water content from the ingredients to lower the weight and to extend shelf life at room temperature. Drying your own food takes time but provides a great reward. It feels like magic when unidentifiable pieces of dried food are soaked in water, heated, and seasoned… And suddenly you smell your favorite dish in the middle of the mountains!
Drying your own food takes time but provides a great reward.
It also becomes cheaper compared to freeze-dried food. The food also gets a better texture and a greater variety of flavors. Only your own creativity sets the limit! It’s also good to know exactly what ingredients the food contains if you have an allergy or follow a diet.
Of course, it’s possible to mix home-dried and freeze-dried meals on a tour. Maybe you eat freeze-dried for lunch if the weather is bad, and then treat yourself with a home-dried meal in the tent in the evening. Or you just dry fruit for snacks!
Oven or food dehydrator?
There are several ways to dry food. In the oven, in a special food dehydrator, or just air-dry on a baking sheet above a radiator or on a table. The best way for the food is to dry it as briefly as possible and at the lowest possible temperature to preserve the most nutrients. A guideline is that fruit, vegetables, and cheese do best at 50 degrees, while meat, fish, and chicken require 70 degrees. When drying in a regular oven, leave the door slightly open using a spoon. This way, air can circulate and moisture can escape.
Which food can you dehydrate?
Actually, you can dry all kinds of food! But some things are easier to dry than others. The more water a food contains, the longer it takes to dry. Fatty foods like salmon, cheese, or bacon can go rancid, so they have a shorter shelf life when dried.
Some foods can be dried directly, while others need to be blanched or cooked beforehand. Generally, fruits, vegetables, and onions only need to be peeled, thinly sliced, and then placed in a dryer or on a baking sheet. Root vegetables, cabbage, and leafy greens need to be steamed or blanched before drying to avoid losing color and flavor. Potatoes turn gray if not blanched. The larger the surface area you cut, the faster fruits and vegetables will dry.
Beans and lentils are easy to dry. If you buy canned ones, just drain the water; otherwise, you need to soak and cook them as usual before drying. Meat, fish, and chicken need to be cooked before drying, either by frying in a pan or baking in the oven (150 degrees Celsius). This does not apply to ready-made products such as ham and sausage.
Some foods can be dried directly, while others need to be blanched or cooked beforehand
Shelf life
If you have dried the food properly, it can last for several years. Meat, fish, and chicken have a shorter shelf life, but it can be extended if stored in the fridge or freezer. Cheese lasts about six months. Store the dried food in tightly sealed plastic bags or glass jars, in a dark, cool, and dry place. Fatty foods should be stored in the fridge or freezer.

The 5 easiest ingredients to dry yourself
If you want to start with something simple, try drying some of these!
– Carrot. Peel and slice thinly. Blanch for 3-5 minutes, it should be soft but not overcooked. Rinse in cold water to stop the cooking process. Dry at about 50 degrees Celsius on baking paper in the oven or in a food dehydrator, about 10 hours in the oven and 6 hours in a dehydrator.
– Apple. Peel and core. Slice thinly. Dry at about 50 degrees Celsius on baking paper in the oven or in a food dehydrator, about 12 hours in the oven or 6 hours in a dehydrator. Or dry without an oven, just lay out on a rack or hang from a chopstick you place over the radiator.
– Leek. Rinse thoroughly and slice thinly into rings. Dry at about 50 degrees Celsius on baking paper in the oven or in a food dehydrator, about 4 hours in the oven or 2 hours in a dehydrator.
– Minced meat in all forms: Ground beef, ground chicken, even soy mince. Salt, season, or marinate the mince. Brown in a non-stick frying pan without fat over medium heat until completely dry. Let dry for a while on paper towels. Spread on a tray with baking paper and dry in the oven at 70 degrees Celsius for about 10 hours, half the time in a food dehydrator. Should be completely dry, like gravel.
– Mushrooms. Clean and slice larger mushrooms. Air dry in a room near a heat source (radiator, on top of the fridge, on a floor with underfloor heating) on baking paper for a couple of days. Stir occasionally. Can also be dried in a food dehydrator at 40 degrees Celsius, but not in the oven as it gets too hot.
Some recipes to try
Beef Stroganoff Stew – 2 servings.
2 dl dried beef strips
3 dl dried root vegetables
8 dl hot water
1 beef bouillon cube
1 tbsp dried / 6 tbsp fresh tomato paste
0.5 dl dried chives
Pepper, Salt
Mix all ingredients and let sit for 30-40 minutes. Bring to a boil again and sprinkle the dried chives on top.
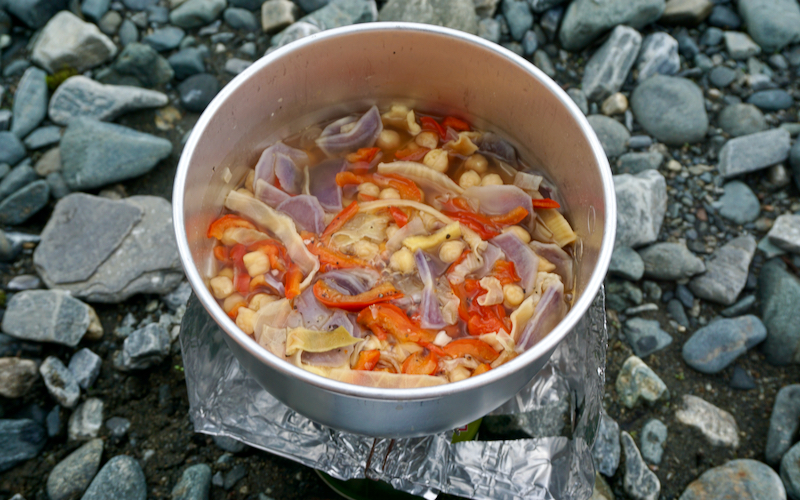
Vegetarian stew with chickpeas – 2 servings.
2 dl dried chickpeas
1 dl dried feta cheese
1 dl dried bell pepper
4 dl hot water
Salt, black pepper, chili
Soak everything under a lid for 20 minutes. Heat and serve with, for example, rice.
The recipes are taken from Eric Tornblad’s book “Drying Food,” Calazo Publishing.
Text: Cathrin Larsson
Quick facts tips for drying foor
- Do not cut too thick and do not dry at too high temperature. This can create a surface layer that prevents moisture inside from escaping at excessive heat.
- It is better to dry for too long than too short. Cut or break off a piece, look and feel to ensure it is completely dry.
- Bring a spice bag on your tour! You may need extra salt, pepper, garlic powder, or a bouillon cube…
- It’s best to portion-package the dried food at home first. Either mix the ingredients after drying them, or make a ready-made stew with, for example, potatoes, dried meat, and onions in the right amounts. That way, it’s quicker to get your food than if you start sorting through different bags on site.
- The food you dry yourself contains very little fat. If you are out in the mountains for a long time, a hot tip is to bring a small bottle of olive oil or your preferred fat, to cook with or drizzle over the food.
- Cooking dried food while on a tour often requires a little extra time for soaking. One tip is to soak the food first, then set up the tent, wash up, or maybe just rest, and then you only need to heat the food!
Links
How to Freeze Dry Food at Home — Practical Self Reliance
Dehydrating Food: Make Your Own Backpacking Meals | Outdoor Life
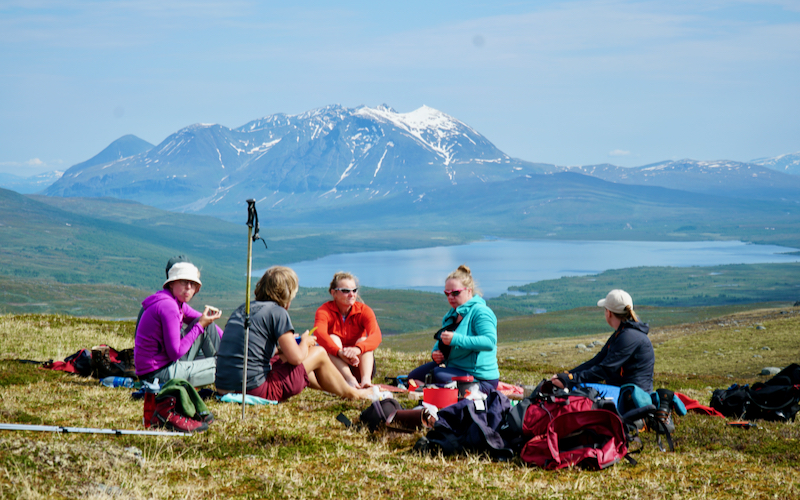
Are you dreaming about a hiking tour?
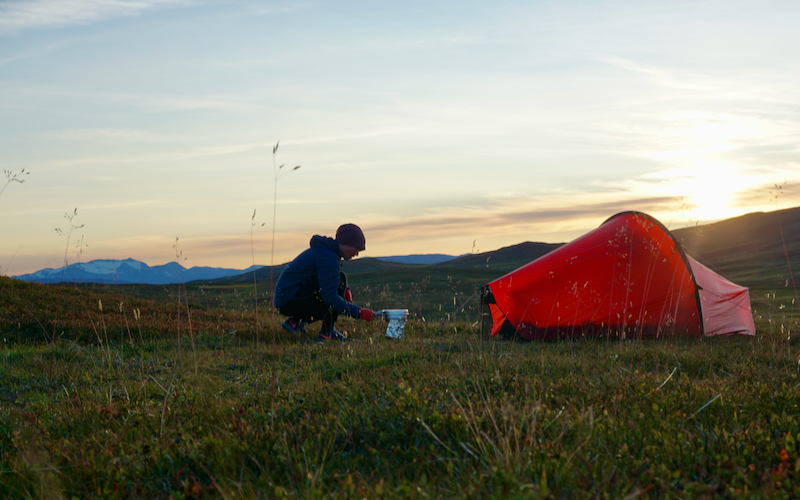
Camping tours

Trekking in Sarek National Park – 9days
Join our classic trek in Sarek Nationalpark through Ruotesvágge and upper Rapa Valley.

Laponia explorer 2025 – 9 days
A trekking tour off the beaten track of Laponia. During 2026 the tour takes us to Luohtoláhko in Sarek National Park

A taste of Sarek National Park – 7 days
The perfect tour for the novice who would like to learn more about backcountry camping and get a touch of Sarek
Hut-to-hut tours
Hiking the Padjelanta trail – 6days
Hike along the northern part of the Padjelanta trail and stay in mountain cabins.

Weekend hike in Muddus National park- 4days
Enjoy old trees, spectacular waterfalls and ravines in Muddus National Park.
Do you have any questions?
Please send us an email to info@laponiaadventures.com
We are happy to help and will answer you as soon as we can.